The universal inspectors
Whenever something is named after someone the naming has typically been preceded by a historic event, like the one on November 8, 1895 when Wilhelm Conrad Röntgen in the University of Würzburg’s Institute of Physics was experimenting with a cathode ray tube. The “radiant” accidental discovery he made on that day went on to be regarded as the discovery of the rays that have been named after him in many languages and that he himself called X-rays. A few weeks later, Röntgen managed to take the world-famous picture of his wife’s hand clearly showing her bones and wedding ring. For this image to be produced, she had to sit still for more than 30 minutes.
Except for the fact that patients, today, typically have to stay put for just a few seconds, the technology developed by Röntgen is still being used nearly unchanged even 125 years later, albeit in far more settings than just hospitals and doctor’s offices.
From 2D to 3D
Since the mid-nineteen-nineties, huge X-ray systems (58 meters / 190 feet long, 25 meters / 82 feet wide) at the Hamburg port have been peering into steel-walled ocean freight containers from all over the world – having revealed more than a billion untaxed cigarettes, several thousand kilograms of cocaine and nearly the same number of liters of faked perfumes – albeit still using the traditional two-dimensional X-ray method.
Industrial research on the other hand employs various techniques such as computed tomography (CT) that has been in use in medicine since the nineteen-seventies. It is a further development of Röntgen’s principle, in which hundreds of scans from various directions are used to create a three-dimensional image. Whether in material tests of vehicles, the analysis of metal alloys or the inspection of tools – the utilization of X-rays has become indispensable to quality assurance and the development of innovations.
The world’s largest CT scanner is located in Fürth
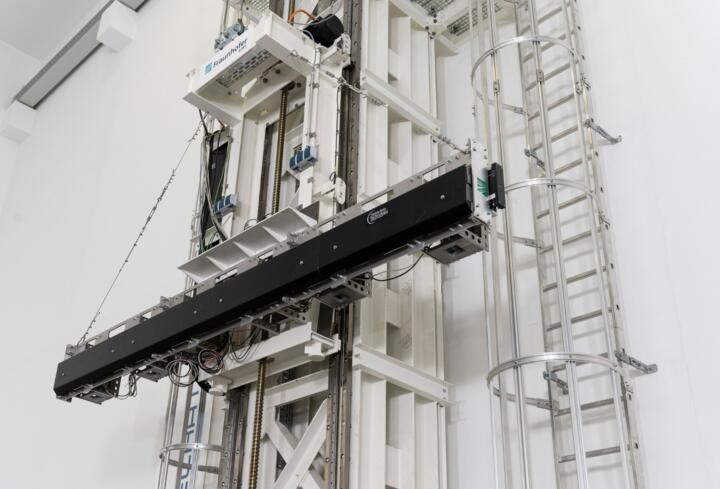
By now, objects of practically any size and shape are X-rayed. Researchers of Fraunhofer Institute for Integrated Circuits IIS in Fürth, located not far from Schaeffler’s headquarters in Herzogenaurach, have managed to develop a technology that can X-ray objects with a diameter of up to 3.20 meters (10.5 feet) and a height of five meters (16.4 feet), and generate high-resolution 3D images. A special technology that records an object in parts enables scanning of even larger objects, which makes this scanner the currently largest CT system in the world.
As an X-ray source the researchers use a linear accelerator with nine megaelectron volts (MeV) – around 300 times as much as in medical X-ray diagnostics (30 KeV bis 150 KeV) – and combine it with a four-meter (13-feet) wide X-ray camera.
The XXL-scanner in Fürth can make structures visible that are literally as thin as a human hair: even solids with a thickness of 0.1 millimeters (0.004 inches) (100 micrometers / 3937 microinches) can be represented in extreme cases, and in the case of very large objects with diameters of several meters, structures with a thickness of about 0.5 millimeters (0.01 inches) are possible. The objects to be X-rayed rotate on a heavy-duty turntable. The camera and the radiation source scan the object synchronously in vertical movements line by line.
X-ray technology is one of the most ingenious inventions from Germany.
Michael Salamon, Group Manager at Fraunhofer Development Center for X-Ray Technology EZRT, a branch of IIS
No need for disassembling: Electric cars, aircraft and historic artefacts in X-ray images
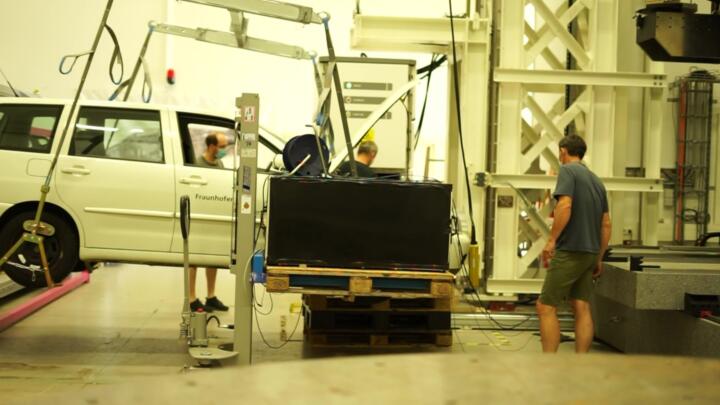
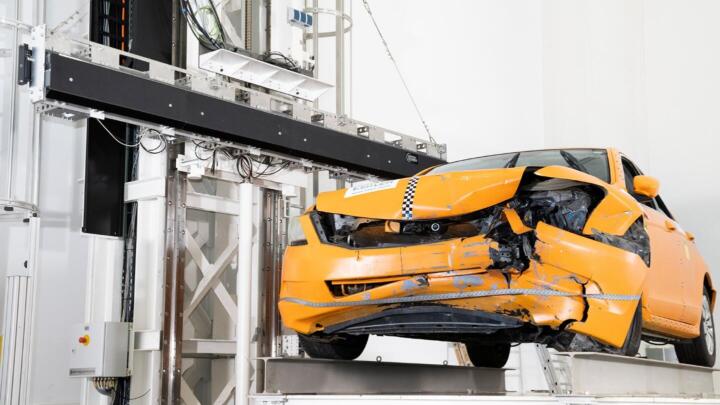
Electric cars after crash tests: The high-intensity X-rays make structures visible even in densely packed batteries. “Ideally, after a crash, no one will touch the battery of an electric vehicle because it’s never clear what damage the structure has suffered and what its effects will be. With our X-ray inspection, we make crash analyses safer and more efficient, and provide our industry partners with results they use to improve the safety standards for motorists significantly,” says Salamon.
Freight containers: 3D X-ray technology makes even small objects inside containers clearly visible. Especially for official security personnel searching freight containers for explosives or weapons as well as for customs officials looking for contraband, the technology from IIS can deliver added value.

Messerschmitt Me 163 interceptor aircraft: “We created a digital twin of a rocket-powered fighter aircraft from the 2nd World War,” says Salamon. The images from the interior of the Messerschmitt Me 163 that was X-rayed with its wings removed provided new findings about the history of the rocket-powered interceptor aircraft which the Nazis had touted as a miracle weapon, but which it definitely wasn’t. Instead, due to its high-risk design, it resembled a flying time bomb, says Salamon, because the pilot was sitting directly between two fuel tanks.

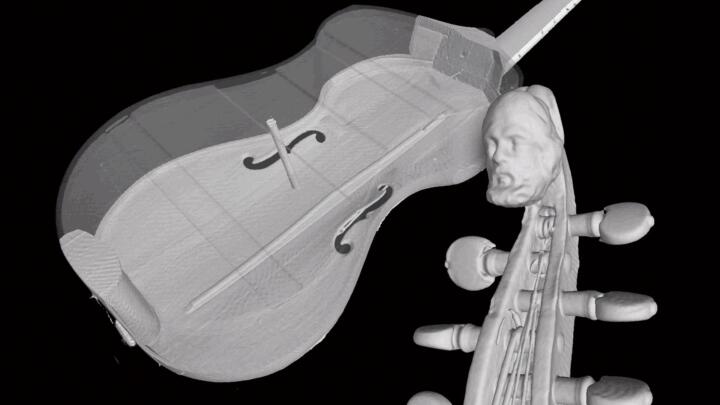
Musical instruments from the Middle Ages: Especially in the case of historical instruments, it’s often unclear how they’ve been designed in inaccessible areas or if they’ve been damaged inside as a result of storage or long-term use. However, disassembling them is often nearly impossible. Computed tomography helps there, too. In the Musical Instrument Computed Tomography Examination Standard (MUSICES) project, Salamon’s colleagues represented more than 100 historically significant instruments three-dimensionally and even developed guidelines for scanning musical instruments.
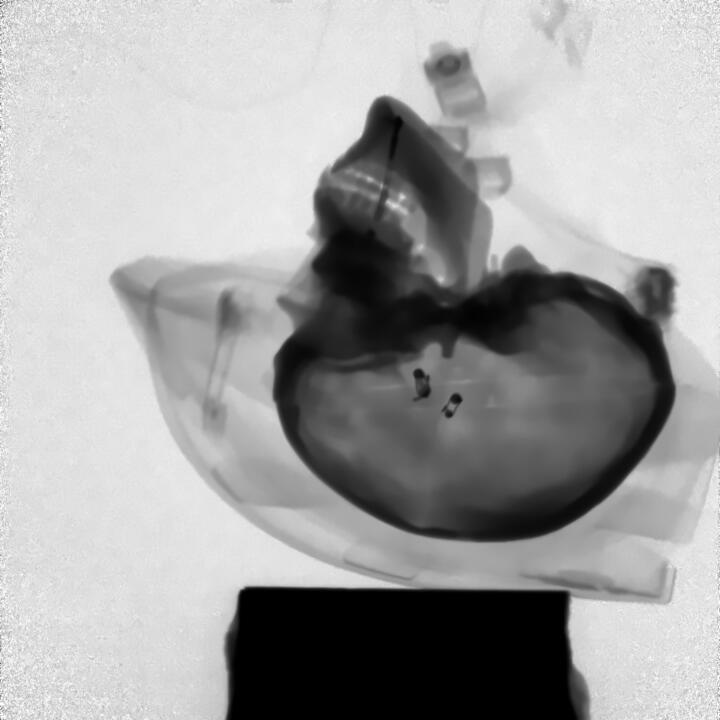
Peruvian mummy: Except for its approximate age (11th to 15th century) and its origin little was known about the mummy prior to the scan. By using the 3D CT numerous grave goods (sea shells, bracelets) were identified behind dozens of cotton cloth layers. Even a corn cob was discovered in the area of the mummy’s head. In the past, viewing such high-resolution data sets required costly industrial computers. Thanks to newly developed software the high-resolution data sets can now be viewed using an off the shelf notebook.


Dynamic interior view
And the development continues to make progress. The Fraunhofer research team is already able to X-ray and analyze even dynamic processes in every detail: a combination of optical high-speed and X-ray imaging.
Taking crash tests as a case in point once more, engineers are desperately trying to answer the following questions: What exactly is happening in a vehicle’s cabin at the time an impact occurs? Are the forces dissipated to various components as planned? In the MAVO fastX-crash project at EZRT, these questions are discussed, with the deformation of the vehicles being filmed with maximum accuracy by high-speed cameras. The special feature of this method is that the optical slow-motion and the X-ray process of taking more than 1,000 images per second are recorded synchronously, thus enabling a direct comparison. Image by image, the experts can compare the similarity between the calculations and the tests. Even a 4D CT – i.e., a time-resolved three-dimensional representation – can be implemented in this way.
A key component in this context is the X-ray detector absorbing the rays that are not absorbed by the destroyed vehicle. The researchers in Fürth increased the sensitivity of these detectors to the extent that even with customary industrial-standard X-ray sources at a rate of 1,000 images per second an image quality is achieved that enables an in-depth view of the interior. Where engineers used to apply putty in a complex process to analyze the deformations after a crash an X-ray film can now be produced: faster and more reliably, and in greater detail.


